A guest post by Elizabeth Pawlicki, Senior Manager, Training Programs at Articulate.
Like many of you, we have a ton of zoom meetings and often I’m tasked with presenting information or training sessions. My initial inclination was to build something in PowerPoint or Google slides, but I switched to Rise 360 and haven’t looked back
I find that even though Rise 360 is designed to be more of a traditional e-learning course, it really does lend itself as a great presentation tool.
Let me tell you how I am using it and why.
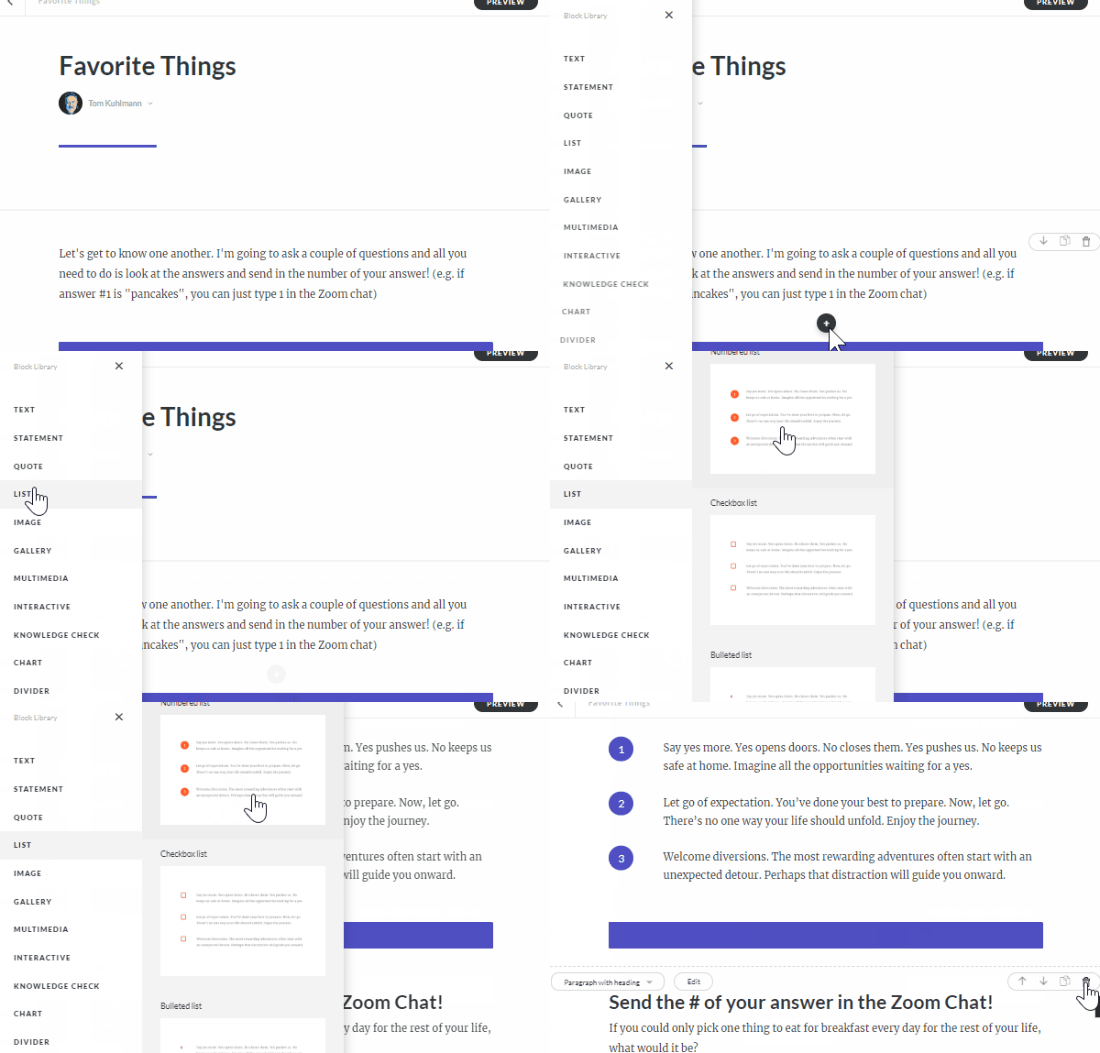
Creating the presentation in Rise 360 is just as fast as creating a slide.
With Rise 360, I spend less time constructing the layout because I’m not starting with an empty slide. However, I can still make something that’s visually appealing, chunked into distinct sections, and still control what’s on the screen and when.

In the example above you can see how easy it is to add all sorts of presentation content such as text, media, and interactivity.
Chunking content is easy and can be creative.
I like to use to use the Continue Divider block to chunk the content similar to how I may have it in a PowerPoint slide. And then to advance my presentation, I click the divider to reveal more.

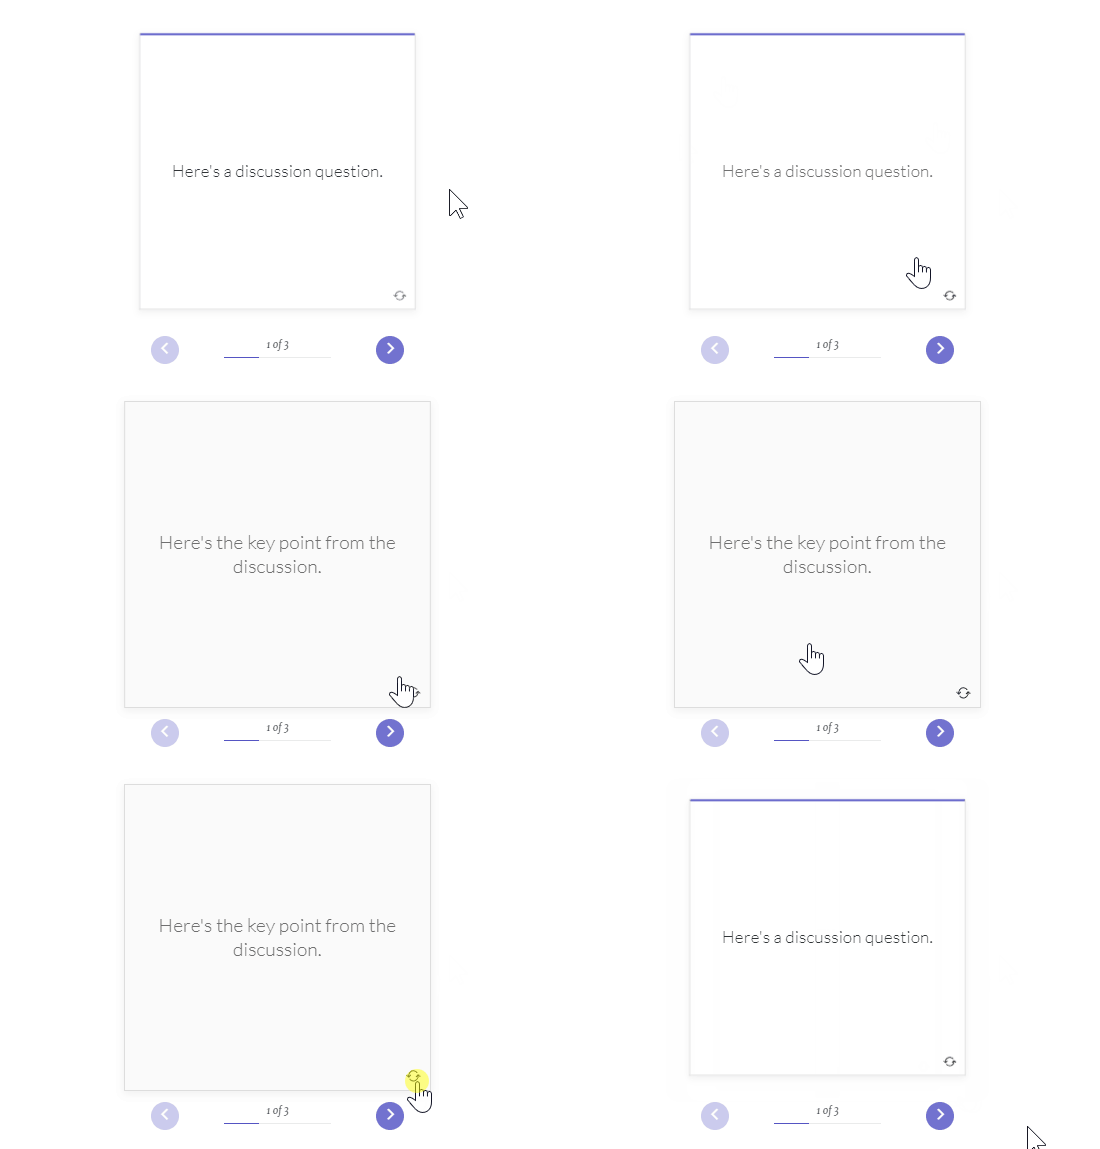
Also, I will convert what should have been bullet points to simple interactions like the the accordion or tabs. This allows me to keep people focused on what we’re discussing. The flashcard block is a great way to talk through things, ask a question, and then reveal content when clicked.
Augment the presentation with embedded content.
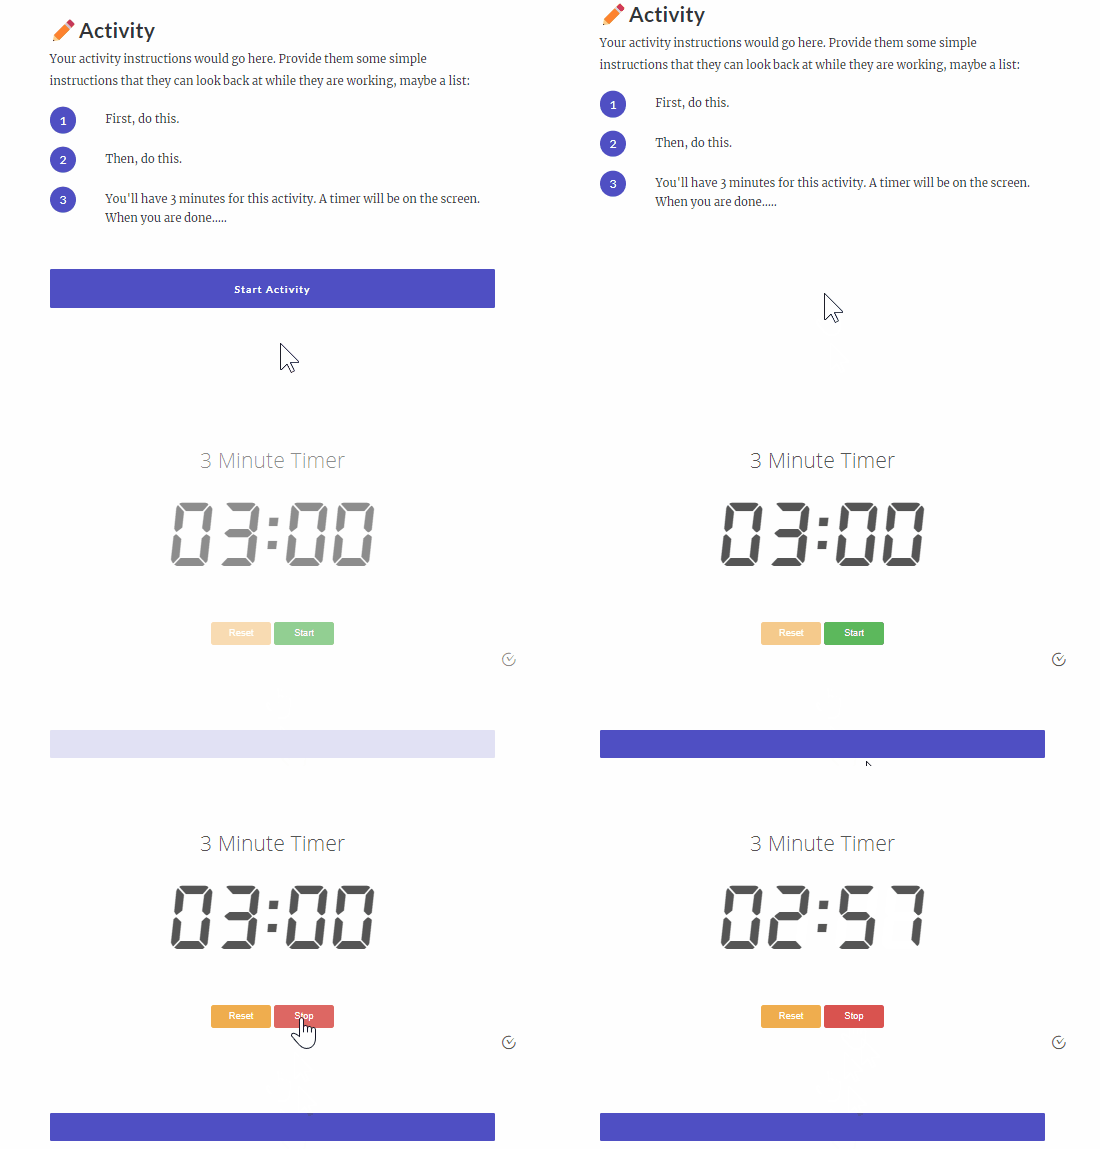
Embedding content from other sources can make the live presentation more engaging or add extra capability. For example, often in our conversations, I present a timed activity.

This is where I use the embed block in Rise 360 and add a timer from vclock using their embed code. You can also embed maps and all sorts of extra media using that block. Basically, if you can find it online you can add it to your presentation.
Skipping unnecessary content is super easy.
Often during the presentations I find the attendees already have a good grasp of the information. In those cases I like to skip to something else. That’s where the sidebar menu comes in handy where I can jump to specific content that I’ve chunked into lessons.
Keeping the sidebar visible is a great way to let the people know where we’re at and where we’re going. So sometimes I keep it open. But it’s easy enough to collapse the sidebar and only show it when I have to.
The course works well as a leave-behind resource.
One of my favorite things is that I can just share the presentation as is. I don’t need to save a PDF of slides or email them a copy of my PPT presentation.

I publish the Rise 360 presentation to Review 360 and then provide the group with the review link. For example, here’s a presentation that I created for the blog that you can access now.
Keep the conversation going.
An added benefit to using Review 360 is that since the Rise 360 presentation is published to Review 360 the attendees can leave comments. This is really great if we run out of time during an activity or discussion. We can continue to conversation in the published presentation.
Test it out. Go to the demo presentation and post a comment.
Keep the content updated.
I can always make updates to the presentation and then republish the new Rise 360 presentation over the old version knowing that everyone will have the same updated content. This is really important for things like sales training and presentations where the content is updated and changes often.
Articulate Rise 360 Presentation Example
I recorded a quick video to show how I use Rise 360 as a presentation tool. Check it out.
Click here to view the presentation on YouTube.
Have you used Rise 360 as a presentation tool? If so, what worked well? And if not, why haven’t you tried it yet?

Free E-Learning Resources
![]()


